The hemming process can be a bit of a nightmare if you want your jeans to look professional.
In fact, even I have had trouble with this in the past when it comes to hems on denim (trust me – they don’t all turn out like yours!).
But what if there was an easier way? Luckily for us, we found some tips and tricks that make sewing up those perfect-sized hems quick and easy!
How To Hem Jeans With A Sewing Machine
Materials Needed
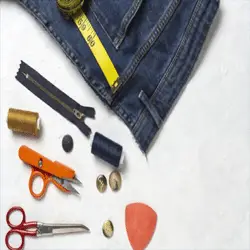
For hemming you need the following things:
- Jeans
- Safety Pins
- Ruler
- Fabric Marker
- Sharp Scissors
- Heavy Duty Denim Sewing Machine Needle
- Thread
- Sewing Machine
How To Hem Jeans
Follow the following steps carefully & learn how to hem jeans like a pro!
Step 1: Pin Or Press The hem In
Good friends always make the best of coffees, but it’s not easy to measure jeans’ leg length without bending down and distorting their actual size. You can use pins to hold in folded hem while pressing and removing them once they’re secure.
To press hemming:
Use a DRY iron set to cotton and puff some steam while pressing down the hem fold. Keep the iron stationary for a few seconds after so that you can allow it to set under its weight, then lift up, reposition yourself moving across without dragging as this could distort making turning difficult or uneven if not impossible.
Step 2: Mark The Hem Allowance
The steps to hemming your jeans
- Turn the legs of your pants inside out
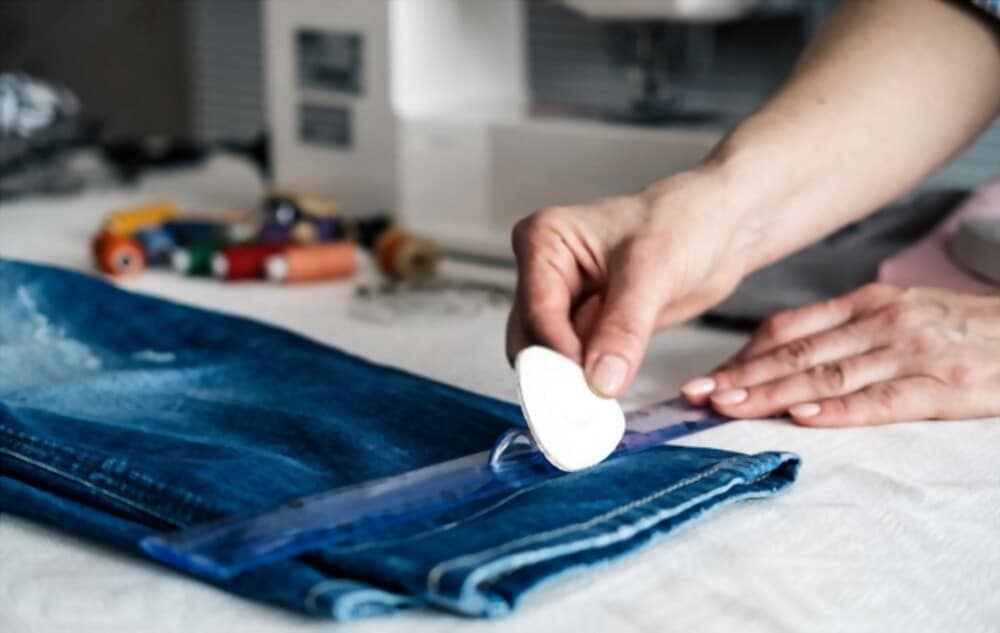
- Place a metal ruler or seam gauge against one fold in order to mark 1/8 inches on the other side, which will be used as an allowance for sewing later
- Use chalk and draw lines along the edge

Step 3: Trim The Excess Length
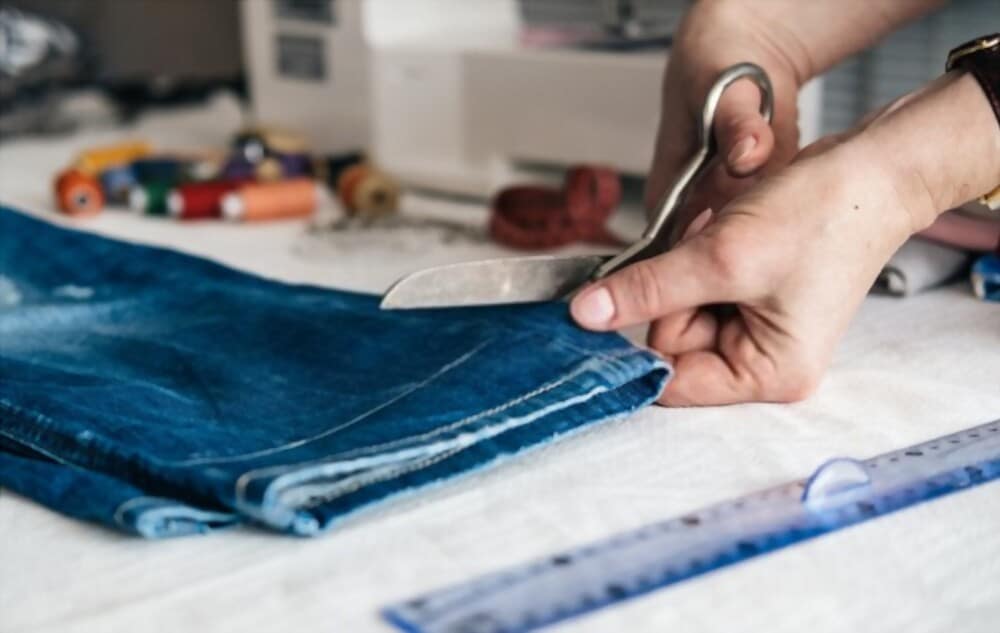
Using your sharp scissors, cut in at a diagonal to reach the chalk markings. Pivot and trim any excess length along the marked line.

Step 4: Double-Turn The Hem Allowance To Form The Hem
With the hem already trimmed and the bottom edge of the leg defined by fold, pull back the raw edge to reveal trim allowance. Press first turn in leaving a small gap between it and the original seam.
This enables for easier turning of the second turn which you then press into place before continuing with step 5.
Now press the folded hem perfectly.
Step 5: Secure The Hem Seam At The Beginning
Select the Straight Stitch, length 0.5 mm (for short locking stitches).
Select the Needle Down function: this will help keep your hem aligned and avoid ‘jogged’ stitches.
Use two plates under one of the front toes on the foot to level it out so the stitching doesn’t jag or get off track while sewing a longer seam/hem at 5-6 stitches using the Height Compensation Tool in place securely across beginning cross stitch seams until you finish completely with the needle down method.
Step 6: Stitch The Hem With A Triple Straight Stitch
Select the Triple Straight Stitch / Stitch length = 3 mm.
Begin sewing until you wrap around to the beginning (cross-seam). After a few stitches, the rear of the foot will be passed the thick cross seam.
Pause and remove height compensation tool from underfoot with Free Hand System making removal easy for your feet automatically lowers back in place once released FHS continue hemstitching around 3/8″ up until start where it began before is finished
Step 7: Lock The Stitches At The End Of The Hem
With the presser foot now on top of the thicker cross-seam, switch back to your Straight Stitch or Triple/Embroidery stitch.
When you are finished with triple stitching, return to your original setting for a few securing stitches before cutting threads and removing the garment from the machine.
Step 8: Repeat
Now, repeat all the above steps on the side side of the jeans. Here is go, hemming is done in some easy steps.
Happy Sewing & Good Luck!

Robert Patricia
Robert Patricia is a data analytic and content creator. He has worked extensively with large data sets to glean insights for both public and private sector clients. He has used this knowledge to create compelling content for brands across the internet. Albert also enjoys creating content for websites and social media. He is an expert at creating catchy headlines and understands how to capture the attention of readers.
